
- Go to one of the following on-line logo generators and create a logo for the header of your blog.
- Save the generated image to your computer (easiest spot to save to is to your computers "Desktop" so you can find it easily again.)
- Then go to you blog (www.blogger.com) and sign in.
- Click on "Template".
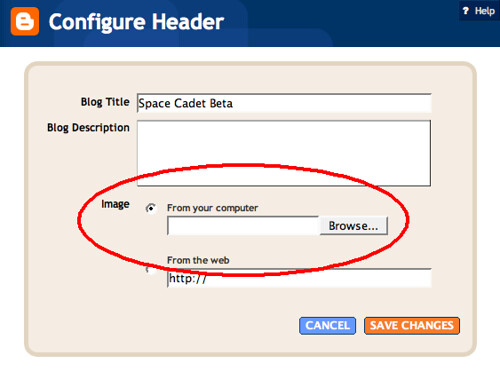
- In the pop up window under the heading "Image" click on the radio button corresponding to "From your computer" and then click on the "Browse" button.
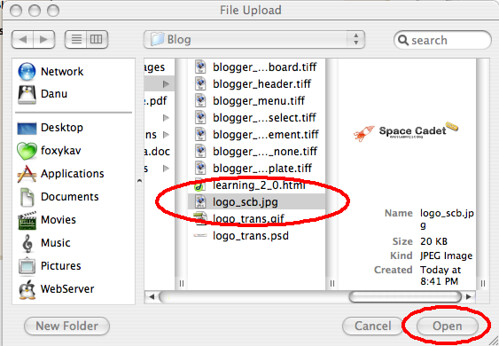
- Navigate your way to and select the image you saved to your computer in step 2.
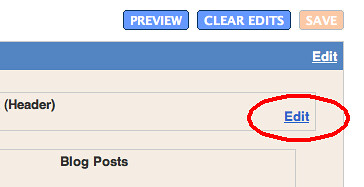
- In the header box click on "Edit".
- Click on the "Open" button.
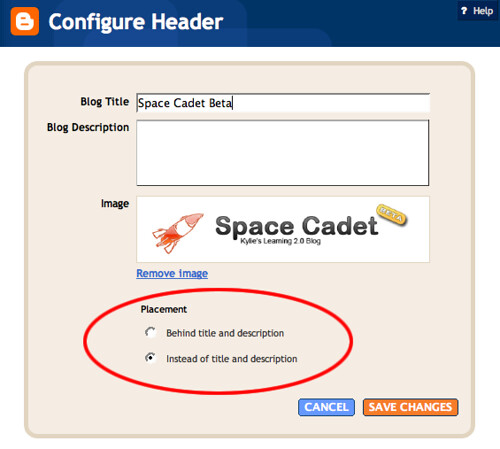
- Wait until the image is displayed in the pop up window and the option "Placement" appears.
- Under the heading "Placement" select the radio box corresponding to "Instead of title and description".
- Click on the "Save Changes" button.


No comments:
Post a Comment